使用linode VPS有半年多了,随着今年三次免费升级(先是流量,再是内存、 硬盘),东京机房随着大量国人的涌入,现在国内访问速度越来越慢,终于忍不可忍,决定迁移至Fremont,现将所有步骤都记录如下:
第一步
登陆linode后台账户,在Support导航菜单打开一个TK,选择"Regarding"的时候一定要选择我们需要迁移的VPS,如果你有多个VPS千万不要选错了,到时候可能数据一去不复返。提交TK的内容很简单:
I want migrate the host to Fremont
第二步
大约2分钟左右,就会收到邮件提醒,然后进入linode后台TK处看到给我们的回信,全文内容如下:
Hello,
Your migration to a different datacenter has been configured. Please log into the Linode Manager, shut down, and click the migrate button to move to your new server. Your disk images will be moved with you. The migration should take approximately 10-15 minutes per gigabyte of data to complete. Please note that any existing backups for this Linode will be purged and will not be recoverable after you initiate the migration.
Your new ip address(es) are:
106.187.93.187
We ask that you begin this migration within 24 hours and let us know when it is complete. Thanks in advance!
Regards,
Dolores
第三步
关闭机器,迁移数据。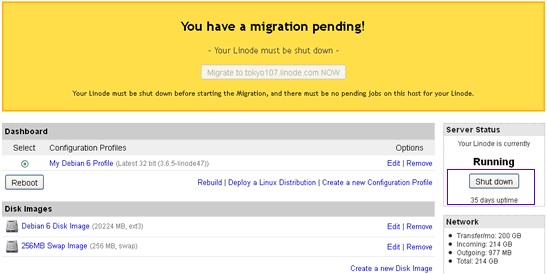
我们需要先点击右侧的"Shut down"按钮关闭机器,然后等待半分钟左右,点击上面的"migrate to fremont108.linode.com now"按钮开始迁移数据。
我们在界面中可以看到数据迁移的进度,数据量和网速决定时间长短,官方说是10-15分钟,我用了3个小时左右才完成。
第四步
开机。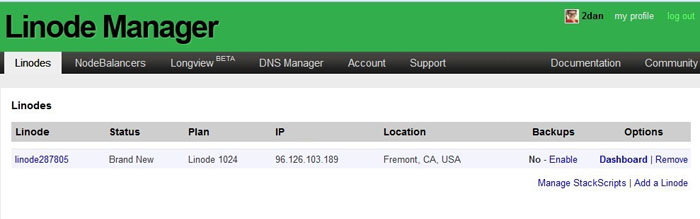
我们看到数据已经迁移完毕,然后看到主机用户的IP变过来了,我们只需要进入"Dashboard"面板,然后重启"Boot"按扭开机就可以了。root账户密码和之前的是一样的,唯一改变的就是IP地址。
第五步
将域名解析到新的ip地址,到此Linode的迁移数据中心流程就结束了!